July Eco-Activity: Flower Pounding! 🌸🔨
Summer is in full swing - and this month, we're taking one of nature's most beautiful gifts and turning it into art. Literally!
Flower pounding is exactly what it sounds like: you lay fresh flowers and leaves on fabric or paper, cover them up, and hammer away. What's left behind is a stunning, one-of-a-kind print made entirely from the plant's own pigment. No paint. No dye. Just flowers doing their thing. 🌿
It feels like magic every single time - and kids absolutely love it!
🌸 What You'll Need
Fresh flowers and leaves (the more colorful the better — pansies, black-eyed susans, marigolds, clover, and ferns all work beautifully)
White cotton fabric OR watercolor/construction paper
A hard surface (a cutting board or even the sidewalk works great)
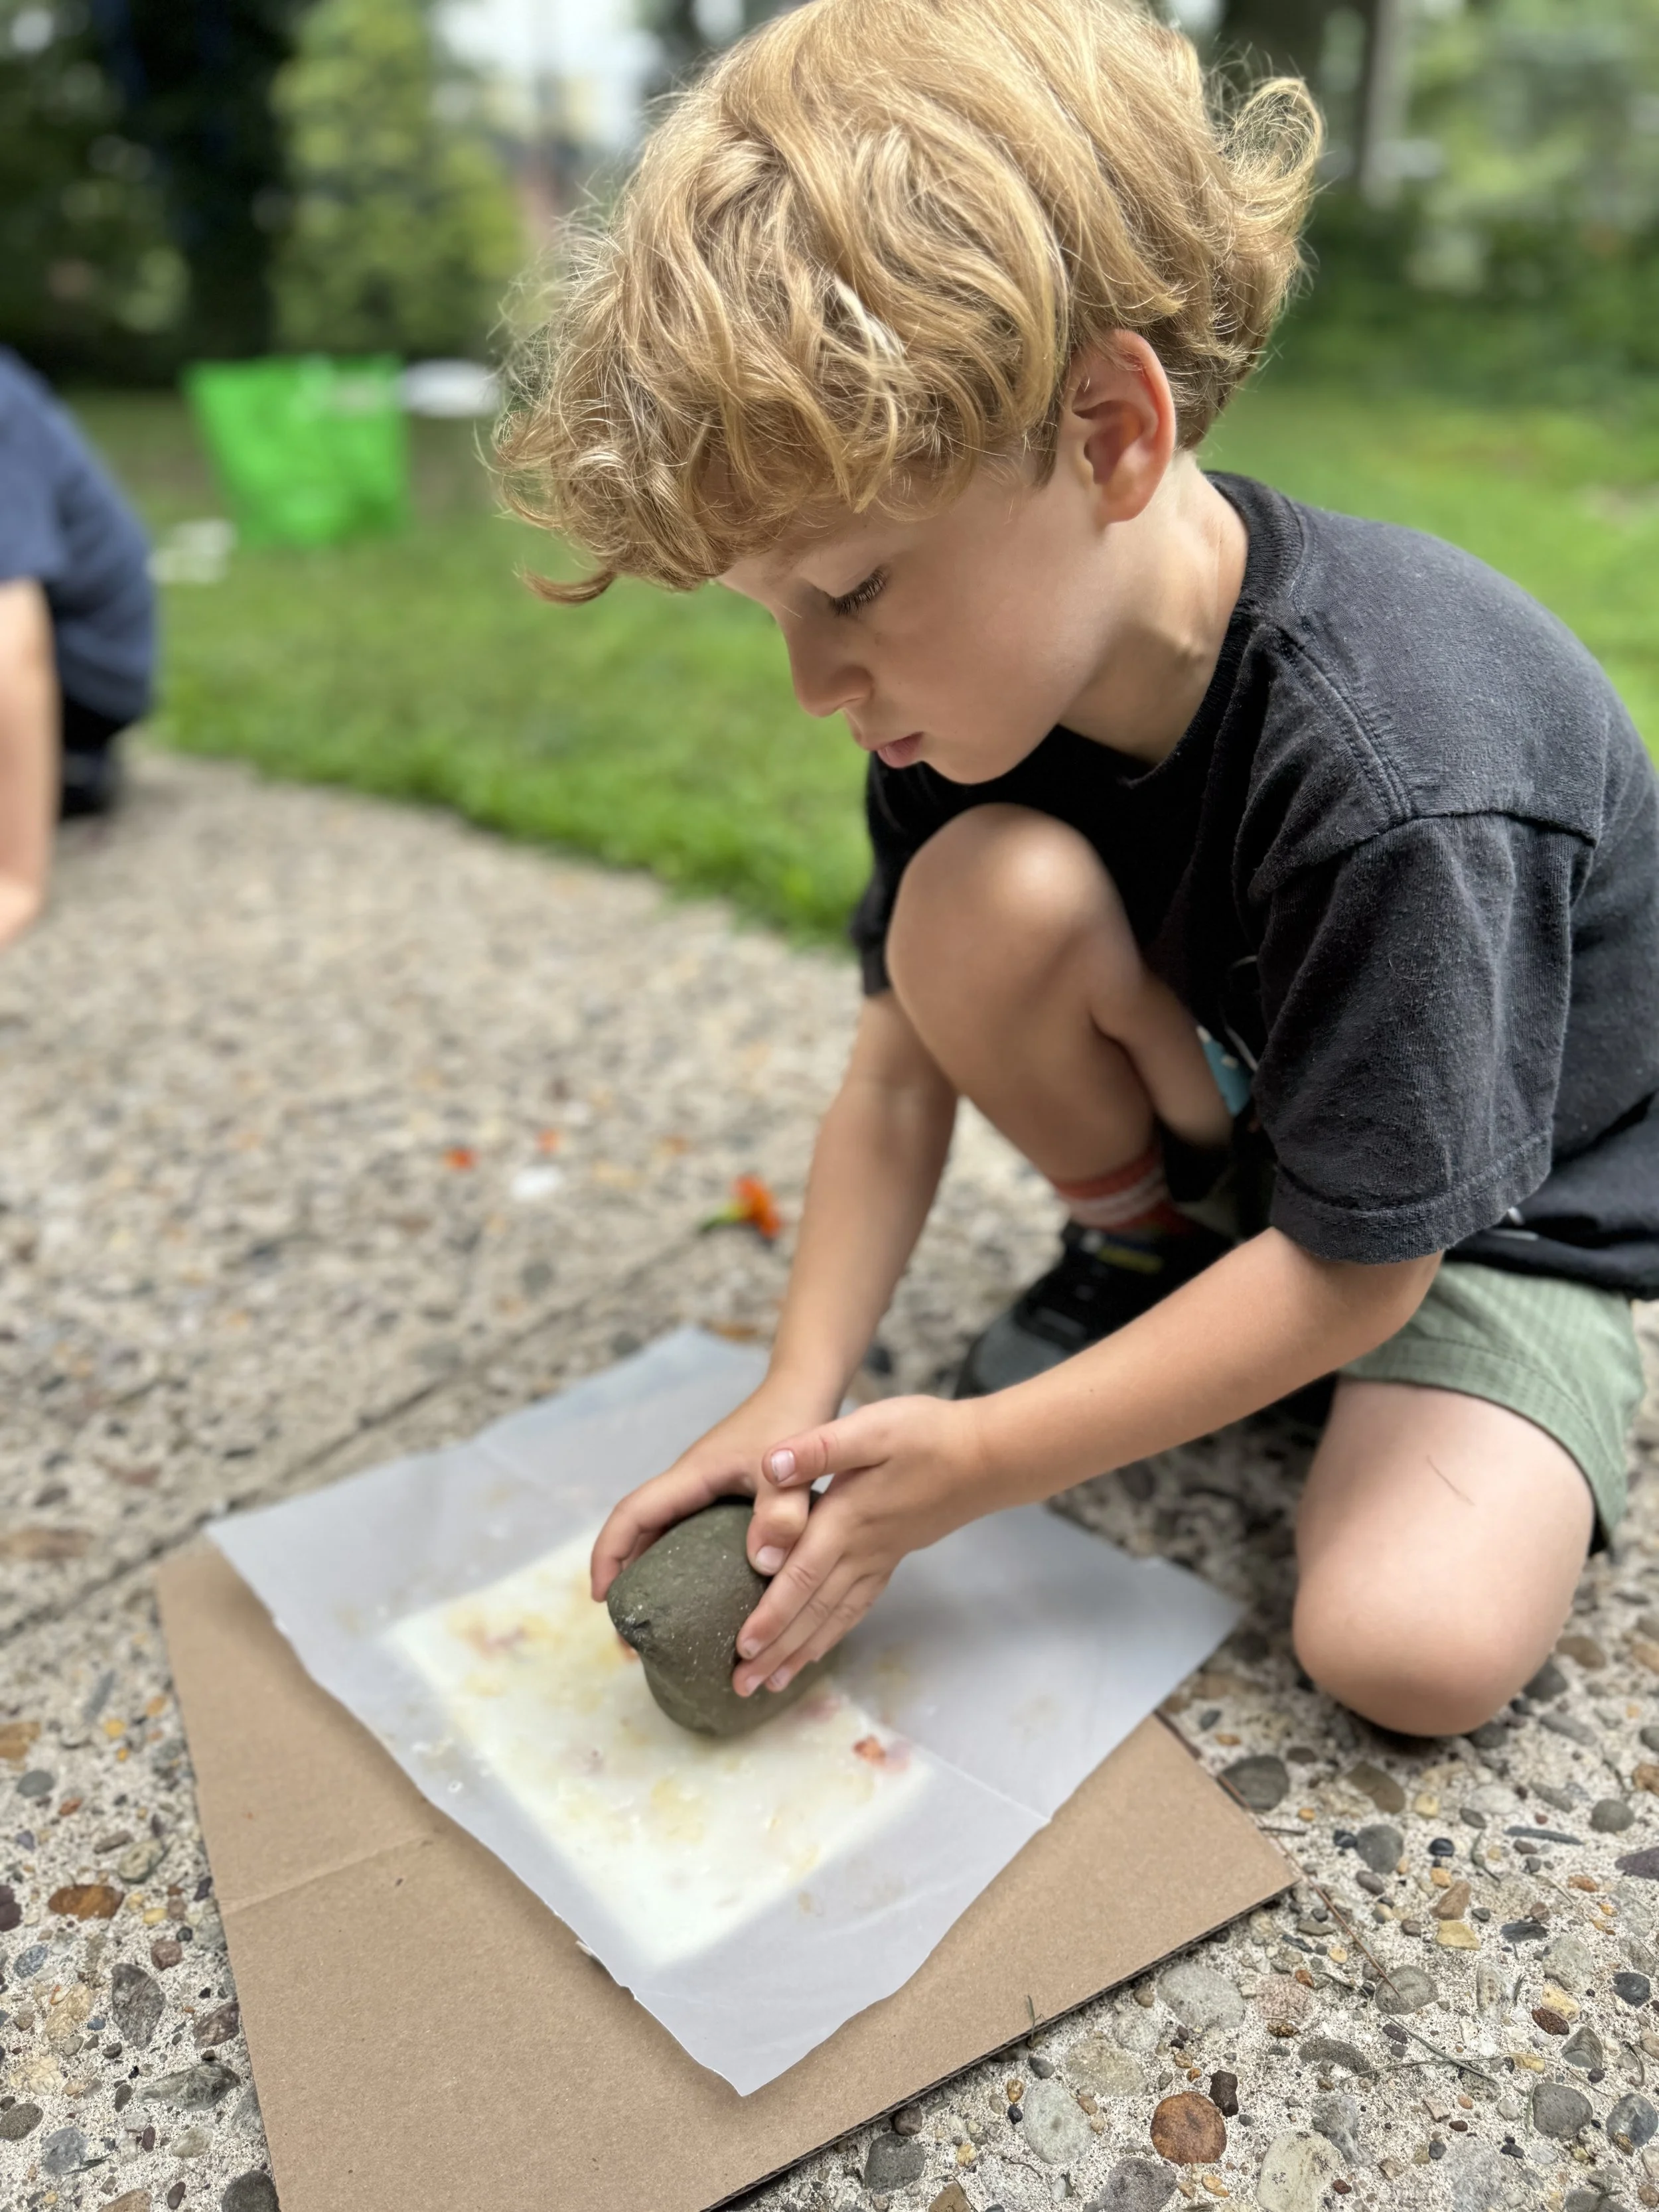
A hammer or rubber mallet (a big flat rock works great too!)
Parchment paper or a thin cloth to cover your flowers before pounding
🔨 How To Do It
Step 1: Head outside and collect your flowers and leaves! Look for petals with rich, deep colors — the more vivid the flower, the more vivid the print. This part alone can take a while, enjoy it and go explore. 🌼
Step 2: Arrange your flowers and leaves on your fabric or paper, face-down. Get creative with the arrangement — overlapping shapes, patterns, a little bouquet. Whatever feels right!
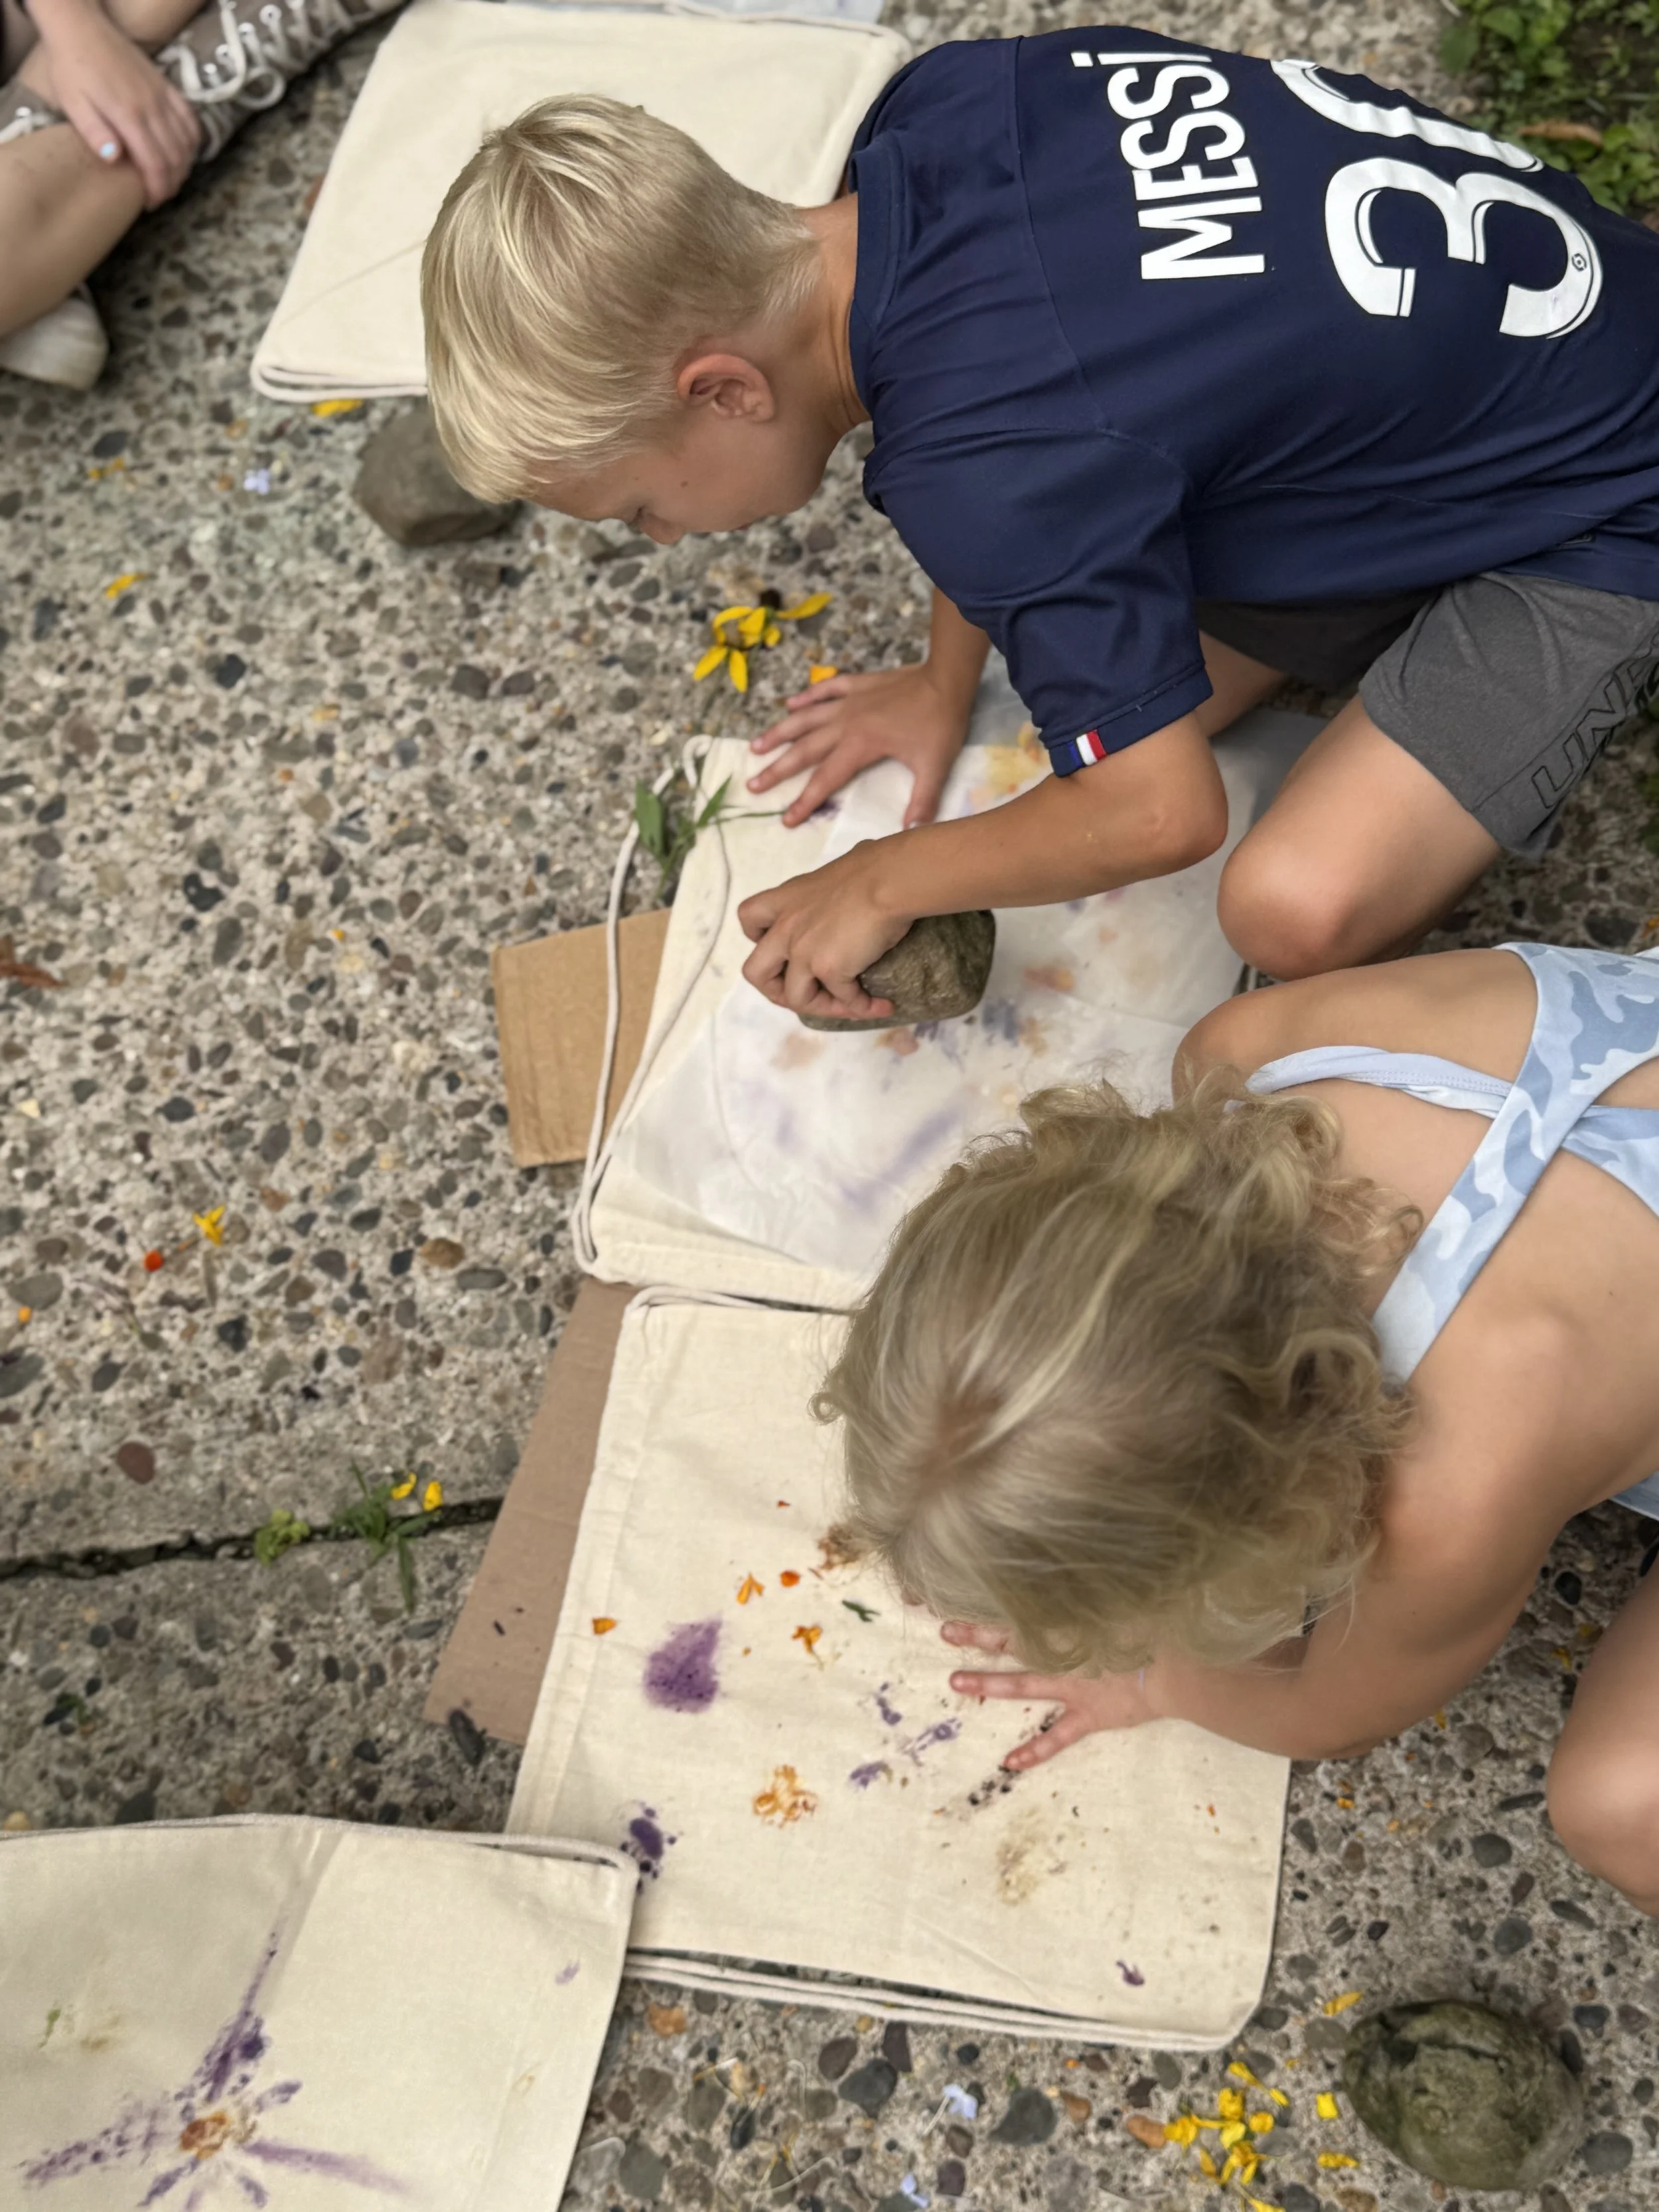
Step 3: Cover everything with a piece of parchment paper so the flowers don't move around. We also like the “Sandwich Method”- simply put another piece of fabric or paper over the top- now you have 2 prints!
Step 4: Hammer! Let your child go to town — firm, even hits work best. Lift a corner of the parchment paper to peek at the print developing underneath. (This is the moment where kids gasp every time. 🤩)
Step 5: Peel away the plant material to reveal the print. Let it dry completely.
💡 Tips & Ideas
Best flowers for pounding: Pansies, cosmos, marigolds, black-eyed susans, ferns, and clover. Thick or very watery flowers (like succulents) don't transfer as well.
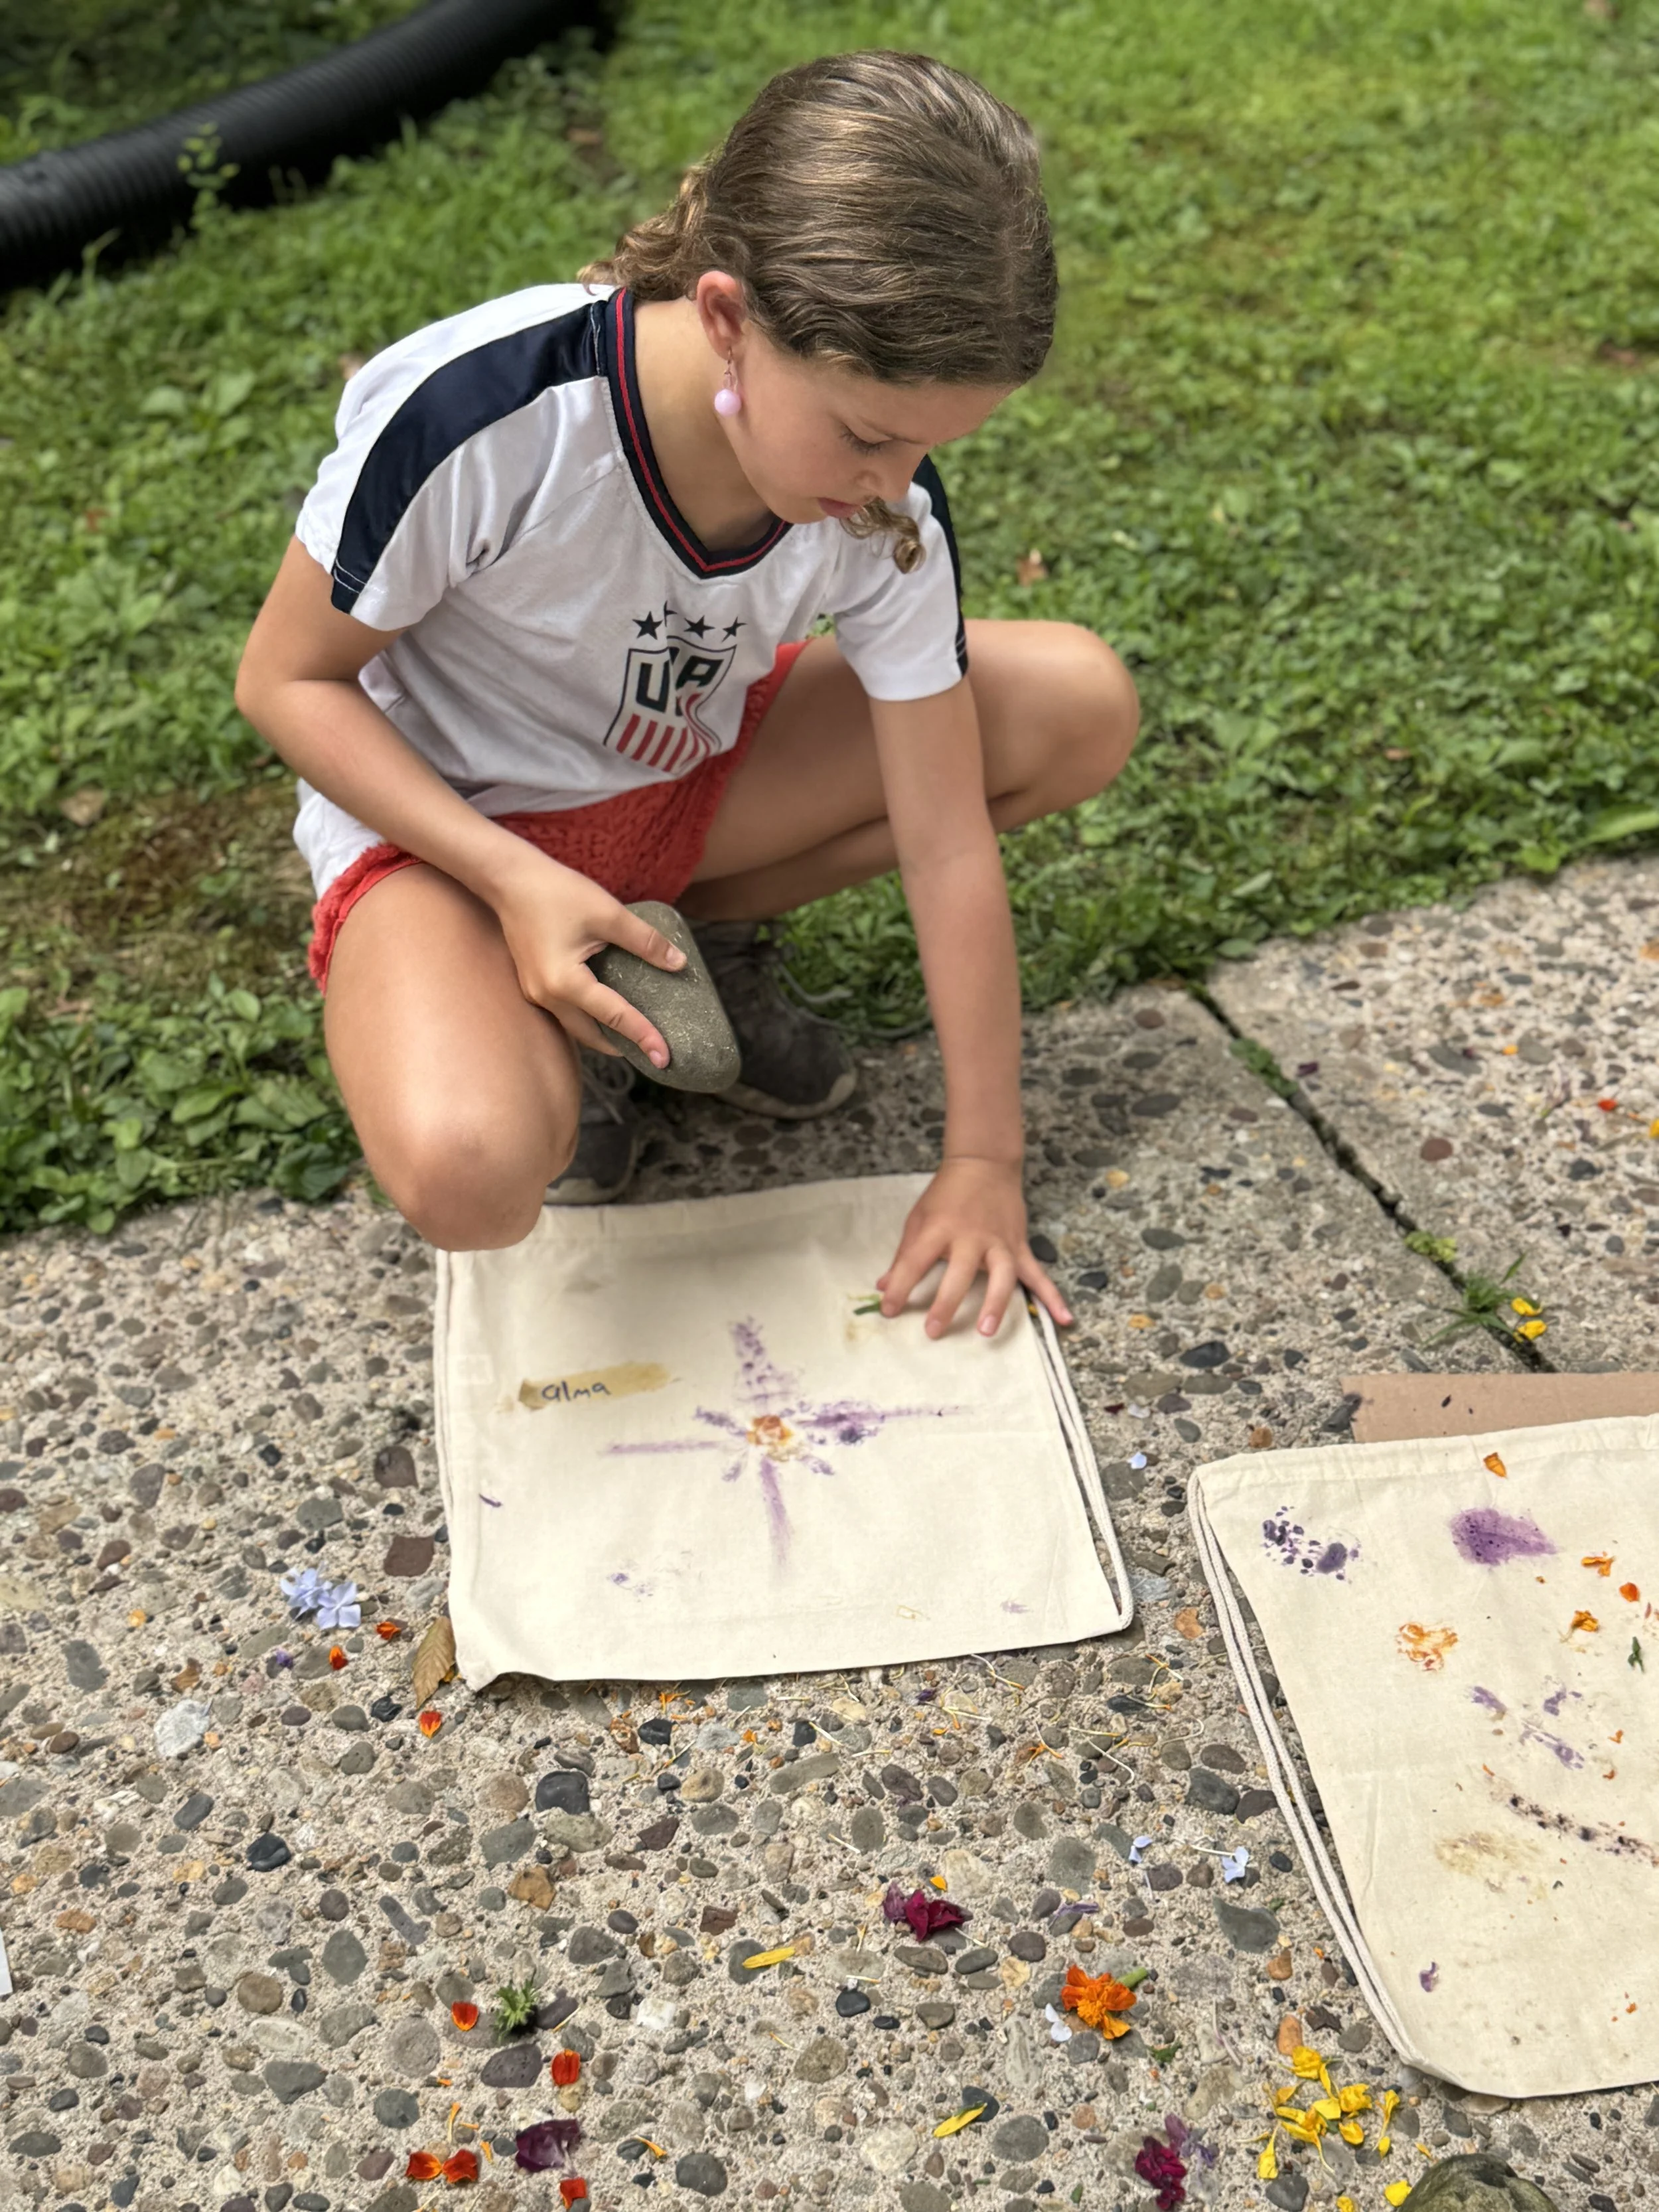
On fabric: The prints will fade over time but can be heat-set with an iron to help them last longer. Makes a gorgeous bandana, tote bag, or pillowcase!
On paper: Frame it, turn it into a card, or use it as wrapping paper for a gift. Create a collection & try to find as many flowers as you can!
For little ones: Let toddlers do the hammering with supervision — they love it! Keep the flower arrangement simple and let them pound away.
Mix it up: Try hammering the same flower multiple times in a row to make a repeating pattern.
🏕️ A Note from Camp
We just tried flower pounding at Rutabaga Summer Camp last week — and it was a massive hit. 🌸 These photos are from last year when we used bags, this year we simply cut up an old sheet into squares so every camper had their own piece of fabric to work with, and the results were absolutely stunning. Campers ages 4 to 11 all dove in, and every single creation was completely unique and beautiful. They went home so proud — and honestly, the counselors were pretty proud too. 🔨✨
Want your little one to experience the magic? We still have spots available for Summer Camp — and the best part is, you can sign up for just one day! No need to commit to a full week. Drop in for a day of nature, creativity, and outdoor play and see what Rutabaga Summer Camp is all about. 🌿